
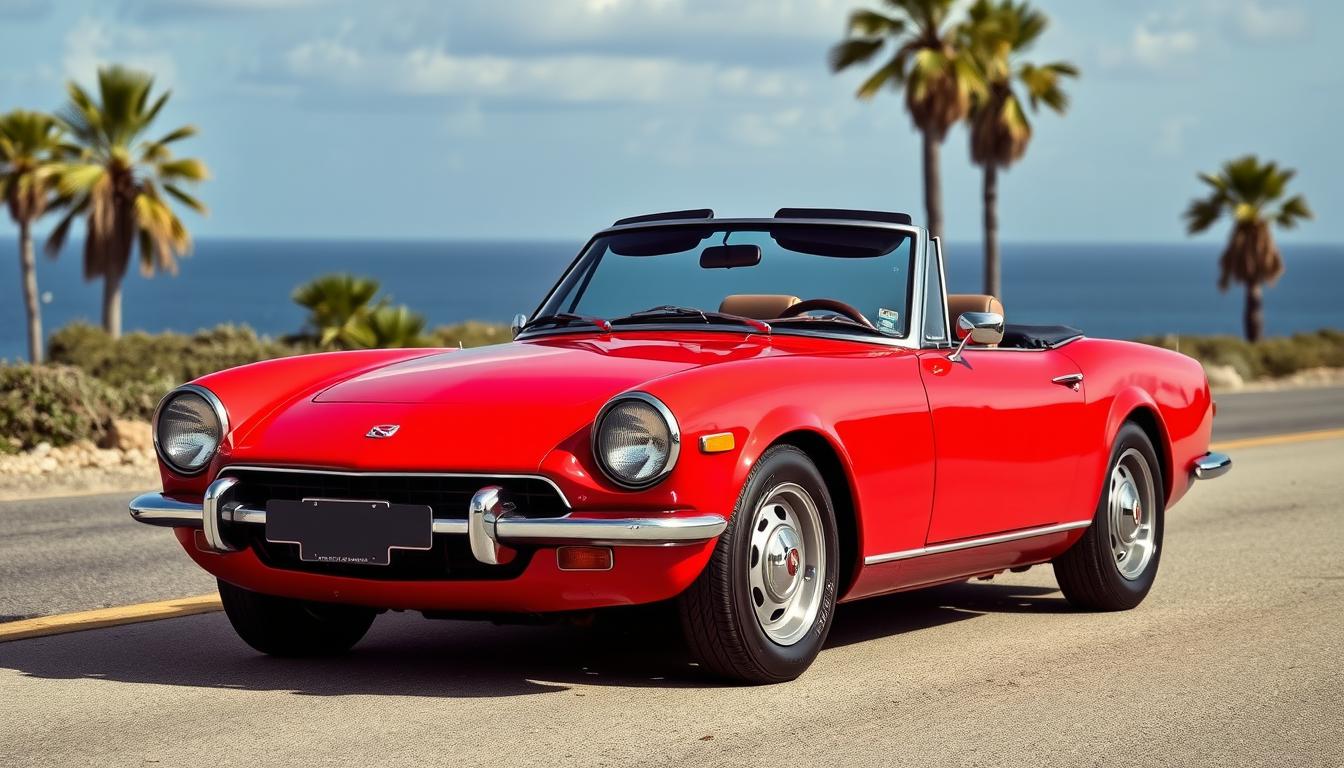
Chatham – Honda S600
The Chatham – Honda S600 is a classic Japanese sports car that has left an indelible […]
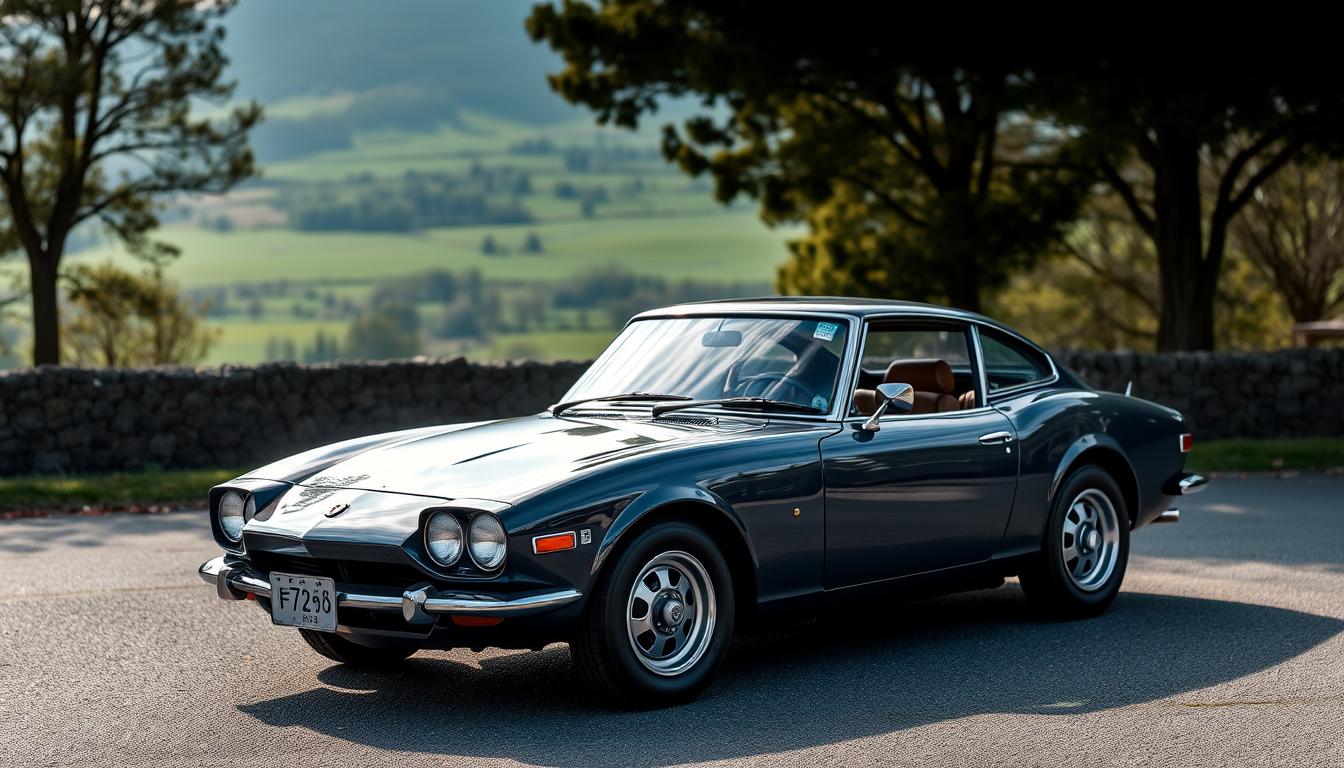
Group i – Honda S600
The Honda S600 is a classic sports car that has left an indelible mark on Japanese […]
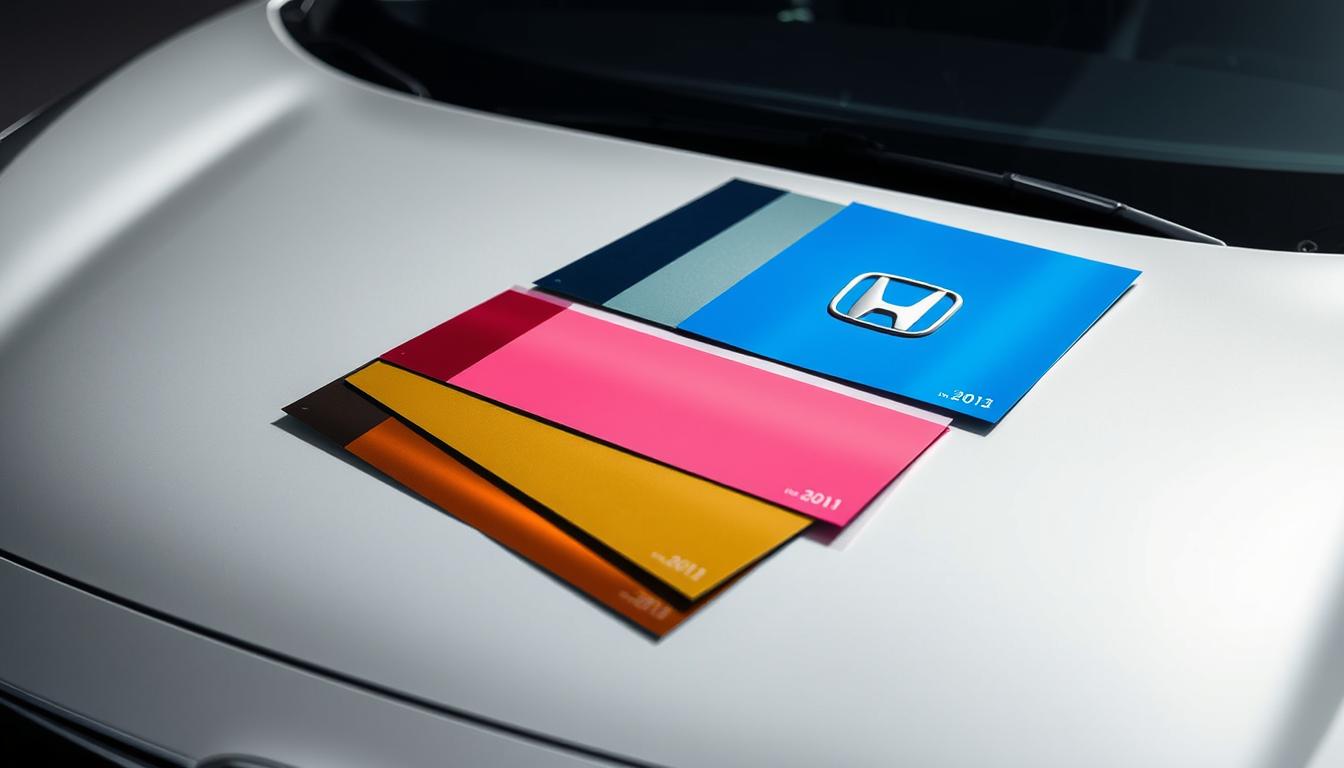
Honda Paint Codes and Information on Paint
When it comes to maintaining the appearance of your Honda vehicle, understanding Honda paint codes is […]
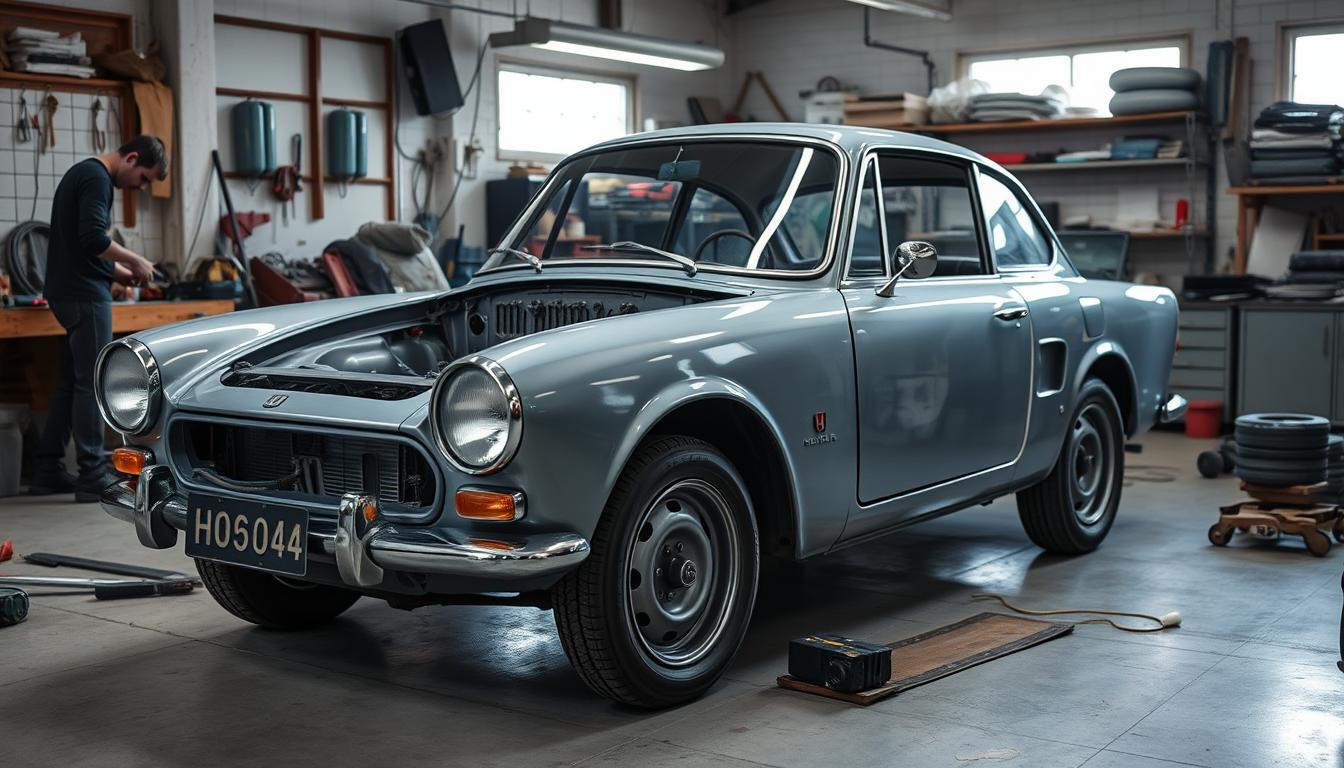
Parts Restoration and Resources – Honda S600
The Honda S600 is a classic car that has gained significant attention in recent years, with […]
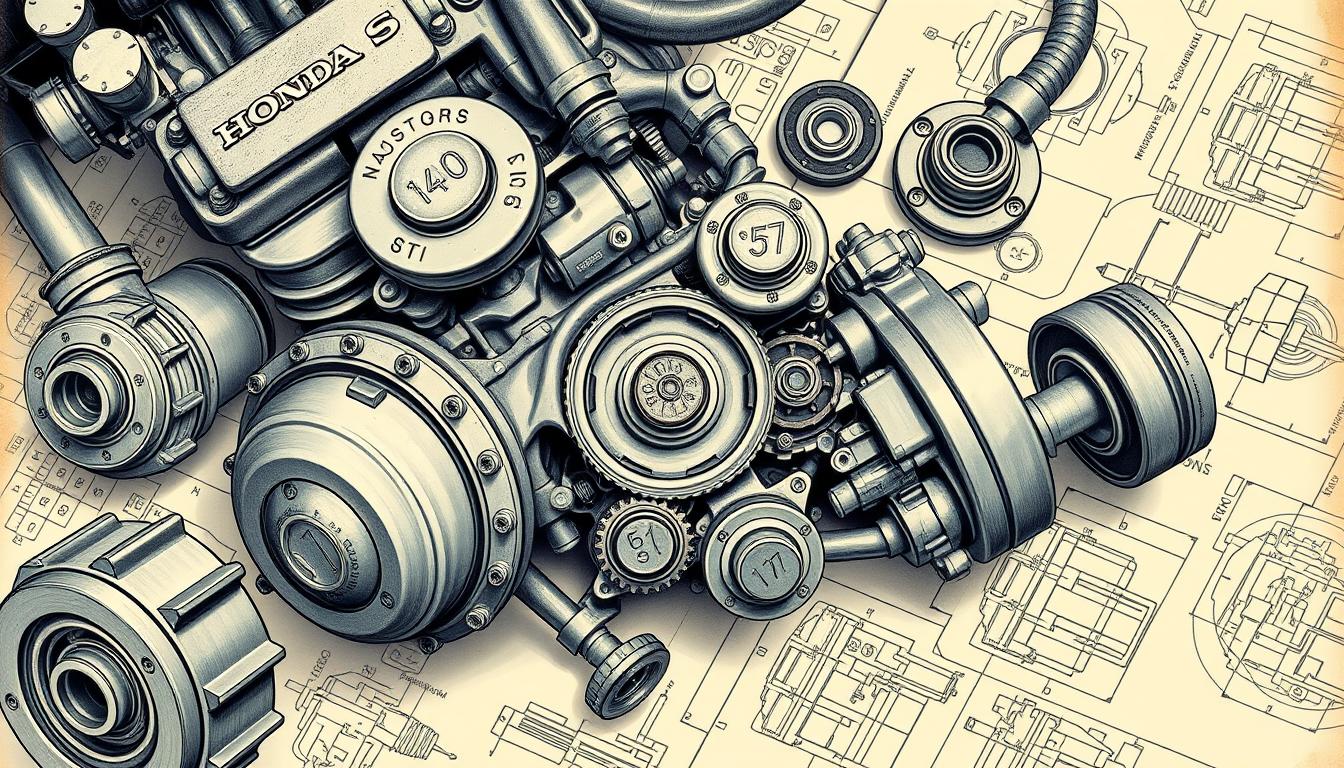
How does Honda number parts? Its all in the numbers Honda S600
Honda part numbers play a crucial role in the automotive industry, especially for mechanics and car […]
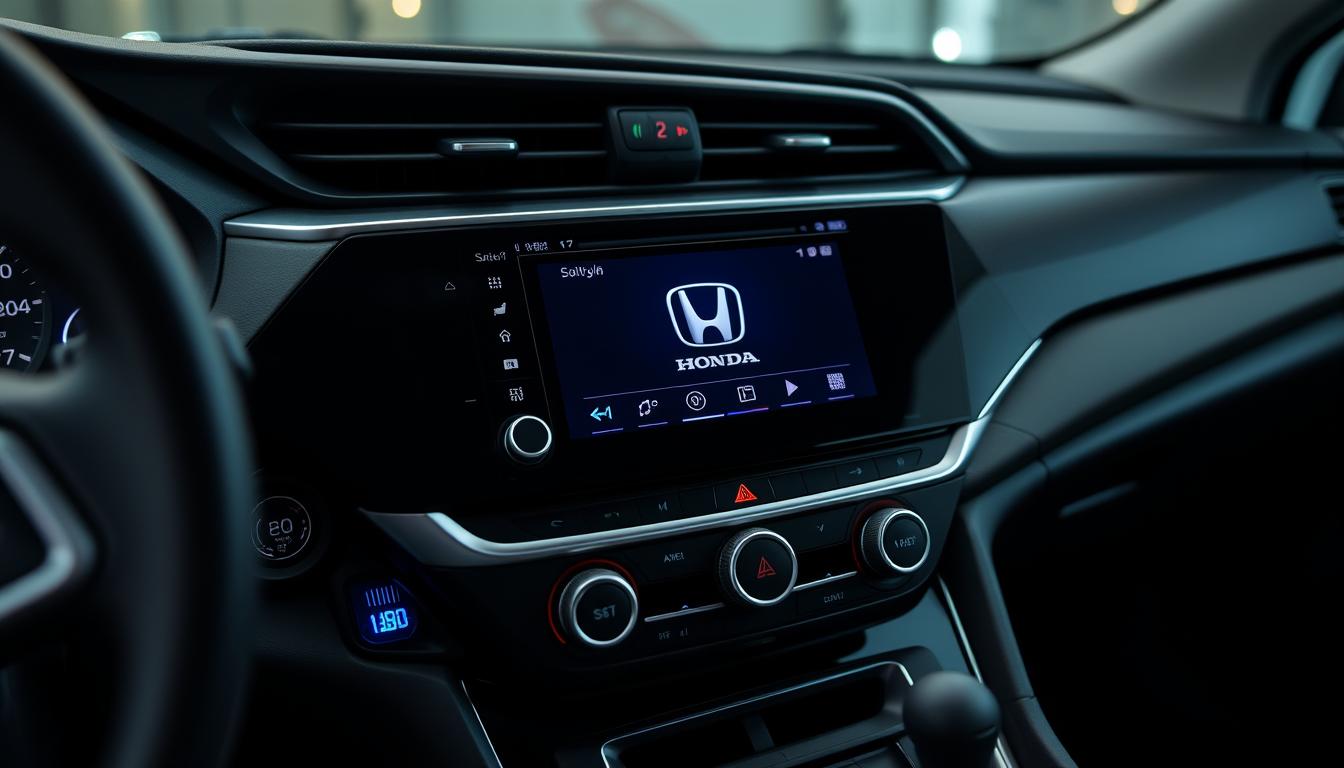
Honda Audio Radio Choices for a little modern convenience
When it comes to enhancing your driving experience, a Honda audio system upgrade can make all […]